
All countries are concerned about the global energy crisis. To overcome this situation, we are looking for alternative solutions. Solar power is one of the most popular options. From houses to factories, solar panels are widely used as an alternative to the grid. As a result, the demand for solar panel manufacturing is rising day by day. People are looking for faster and more precise solutions.
Solar panel manufacturing is one of the most complex production processes. It goes through several stages. Each step needs checking and proper quality control. After all, high-quality solar panels can offer the highest efficiency.
In this article, we will explore the 18 steps of the solar panel manufacturing process. We will also learn how laser technology plays an important role here.
What are Solar Panels?
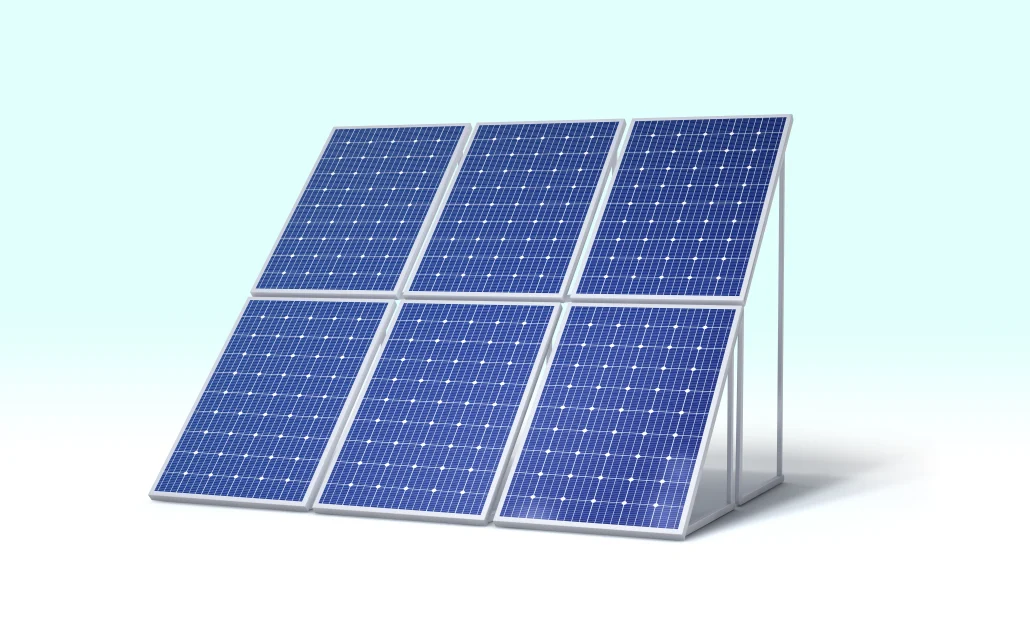
A solar panel is a modern-day tool that captures sunlight and converts it to usable energy. Typically, it is a flat board made of many cells called photovoltaic cells. These active cells work together to convert solar energy into electricity. Most of the cells are made of silicon, called crystalline silicon solar cells. Other parts of the panel use thin-film technology and are made of CIGS (copper-indium-gallium-selenide) or CdTe (cadmium telluride).
Many of these cell types come together to create a solar panel. A glass sheet covers them, protecting them from rain and dust. A metal frame holds everything in place. People install these panels on roofs, farms, or open lands where they can catch the most sunlight. They can power houses, schools, hospitals, and often the whole city.
How It Works
Solar panels work on the photovoltaic effect. When sunlight hits silicon cells, it knocks electrons out of their outer shells. Then the free electrons move against the electric field, generating direct current, or DC. Manufacturers then use inverters to convert DC into alternating current, or AC. Homes and factories use AC power.
This system relies on a few key components. First, panels gather free solar energy. Then it travels through cables to an inverter that changes the DC to AC. Or, if needed, it converts DC to DC to recharge the battery. It carries the power safely through wires to the entire network.
Manufacturing Process: Step-by-Step Guide
Solar panel manufacturing is a high-tech process that requires careful, step-by-step execution. The journey starts with raw sand and ends with an energy tool. Each step is essential to shape the panel and ensure maximum power output. Lasers play a significant role here. Here is a breakdown of 18 steps for manufacturing solar panels in order.
Step #1: Silicon Purification
The process begins by processing the quartz sand. It applies heat and uses carbon in a furnace to remove impurities from the quartz. This combination converts silicon into a metallurgical-grade element. Next, another chemical process purifies it further. It creates electronic-grade polysilicon. In this case, high purity is crucial for solar panels.
Step #2: Ingot Production
For ingot production, the process melts the pure polysilicon in a giant crucible. Then, they pour a small seed crystal into the melt and slowly pull it up while turning it. This method is known as the Czochralski method. It produces a single-crystal large ingot. They are often cast instead, since quality and shape affect later production steps.
Step #3: Wafer Slicing
Once the ingots are ready, the next step is to cut them into wafers. This step cuts a large silicon ingot into thin wafers. They are the fundamental core of a solar panel. They are very thin and fragile.
You can actually cut these ingots in various ways. Traditionally, diamond saws cut the wafers. However, this produces dust, which significantly leads to silicon loss. Laser wafer cutting, in this case, has proven efficient.
Since diamond saws have limitations, laser wafer cutting can overcome them effectively. The beam delivers clean cuts and precise shapes. It leaves smooth edges with fewer cracks, reducing material waste. Thus, it saves both time and cost.

Step #4: Texturization
Texturization is the roughing process that ensures silicon wafer surfaces won’t reflect much of the captured sunlight. A rough surface also traps more sunlight than a flat surface. The more sunlight it traps, the more electricity it generates.
For surface texturing, traditional methods, like chemical etching, were often used. Later, they proved messy and environmentally unfriendly. Therefore, laser texturing is a much preferred option in modern manufacturing.
Step #5: Doping & Junction
Doping in solar panel manufacturing means mixing impurities with silicon. Impurities can be pentavalent or trivalent atoms, such as phosphorus or boron. They carry charge and holes, forming a junction that generates electricity.
Doping can be done in various ways; however, laser doping still proves an effective solution. It heats small regions of the wafer surface. It inserts dopant atoms into those certain locations. These strongly doped regions are located beneath the contact lines. They help current leave the cell more easily.
Doping might leave an extra layer around the cell edges. It may connect the front and back sides, causing a short circuit and leakage. Here, a laser creates fine groove cuts and produces fine insulation around the edge to keep the cell working safely.
Step #6: Anti-Reflective Coating
An anti-reflective coating is a thin layer on a solar panel’s surface. This coating is made of silicon nitride. The coating reduces reflection and traps more sunlight. It is dark blue and nonconductive. So, it must be opened and connected to the silicon. A laser does this job perfectly. It doesn’t damage the silicon underneath, and the openings stay clean and sharp. Lasers are preferred mostly because they’re fast, precise, and well-suited to advanced designs.
Step #7: Metallization
Metallization is the process of adding metal to the cell. Operators print silver or aluminum paste on the front and back lines that collect electrons and carry electricity out of the cell. Thin lines block less sunlight. Lasers help make these contacts better.
During metallization, each contact must bond correctly with silicon. Here, the laser pulses heat the paste. It forms contacts with very little heat, and the paste fuses to the silicon. Using a pulsed laser also prevents cell damage, keeping them safe.
On the other hand, laser Grooving creates channels in the silicon, and metal paste fills them to form thin contacts. It blocks less sunlight and increases efficiency. This way, the cell captures more sunlight and boosts the output.
Step #8: Cell Testing & Sorting
After finishing metallization, makers test the solar panel under simulated sunlight. Manufacturers measure the power output. This lets them group cells by electrical output. Lasers provide two key advantages here.
Laser Cell Cutting (Half-Cut Cells)
A laser cuts the cell in half. Using a laser ensures clean cuts with fewer cracks. As a result, it lowers internal resistance and heat loss. It also raises the panel efficiency.
Laser Cell Marking
A laser etches a tiny code on every cell. The mark is durable and simple to read. It doesn’t fade over time. You can track the cell throughout its lifetime. Panels can also trace back to their source. This helps quality-control solar panel production.

Step #9: Cell Stringing
Cell stringing adds cells in rows. Thin copper ribbons connect the front of one cell to the back of the next. This links the cells in series, and the voltages add up. A robot arm does this job perfectly.
Laser Soldering
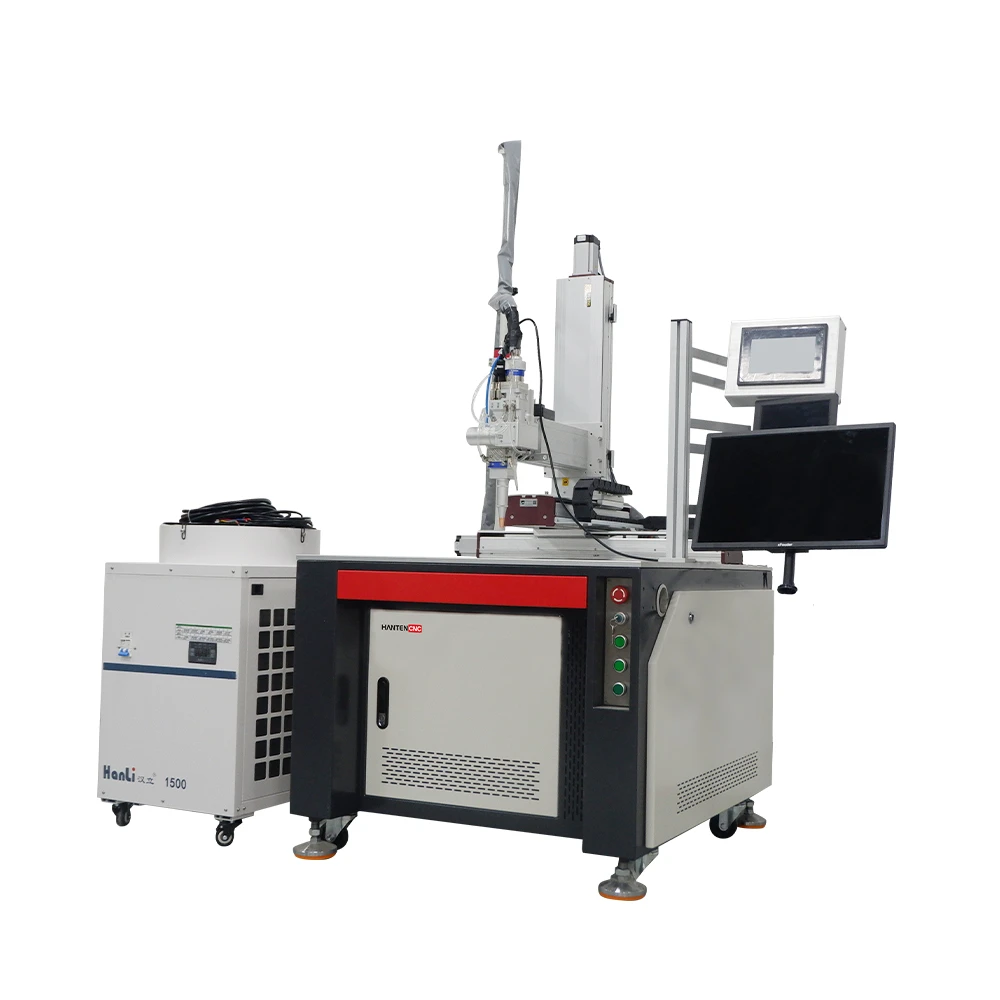
Laser soldering joins the ribbon to the cell contact. A high-accuracy laser only heats the solder. The nearby portion remains cool, protecting fragile cells from heat stress. Many people prefer laser soldering here because the joints are strong, sharp, and clean.
Step #10: Layup & Lamination
The layup process keeps all the panel layers in order. These layers are glass, encapsulant film, cell strings, a second film, and a backsheet. Lamination then heats and presses the stack under vacuum.
Laser Scribing (Thin-Film Modules)
The scribing process cuts fine lines in layers. A laser creates these lines. It converts one large layer into small cell areas. Each cell stays connected to the others. Generally, makers use this method in thin-film modules.
Laser Edge Deletion
The laser then removes the thin film from the border to create a module of the specified size. As a result, it provides strong electrical insulation, and moisture won’t pass through. The laser also keeps the border clean and safe for every solar cell.
Step #11: Framing & Junction Box
Framing adds aluminum covers or frames around the laminated glass panel. Adding a frame makes the panel much stronger and safer. Thereafter, the workers add a junction box to the back of the panel. This system holds bypass diodes and protects the electrical connection.
Laser Welding
Inside the junction box, an advanced laser welder joins the metal parts. Each weld remains strong, neat, and sharp. It also creates fewer heat-affected zones, keeping nearby parts safe. It also reduces power loss while maintaining current flow.
Step #12: Sealing
Sealing closes all the gaps in the panel. This is a crucial step in solar panel manufacturing. Operators apply silicone sealant between the frame and laminate. They also use it to seal the junction box, keeping it safe and blocking water and dust.
Step #13: Curing
Once sealing is complete, the curing step begins. It is basically the hardening process of sealants. It requires time to set after the panel is sealed. Every panel must rest for hours. Many factories sometimes use mild heat to reduce curing time. Proper curing creates a strong, lasting bond.
Step #14: Cleaning
Cleaning is also an essential step in solar panel manufacturing. After curing and sealing, sealants, fingerprints, or dust may remain on the surface. Such contamination must be cleared properly. Clean glass captures more sunlight.
Laser cleaning is a modern solution nowadays. It can remove tiny sticky residues and dust without even touching the glass. Typically, it’s a non-contact method. The beam vaporizes only the dirt, leaving the base material undamaged. It doesn’t require any consumables that add extra cost. Manufacturers generally choose it for its unmatched precision, speed, and clean results.
Step #15: Electrical Testing
Electrical testing shows how the panel works when it comes into contact with sunlight. It also checks whether the panel is safe. For this reason, every panel must go through this testing. For experimental purposes, a flashlight simulates sunlight hitting the surface for a split second. Then it measures all required parameters, such as voltage, current, and power. Operators compare the results with rated values. If the panel fails, they get rejected or repaired.
Step #16: Visual Inspection
After solar panel manufacturing, operators inspect the panels for cracks or damage. They also look for scratches, bubbles, and frame defects. They also check color and cell alignment. Each panel must be clean and functional.
Step #17: Durability Test
A solar panel sits outside for almost 25 years, or sometimes longer. It must withstand heat, cold, and other harsh weather conditions. The durability tests show its limits and strength. Manufacturers pick solar panels from each batch and check their limits. In this process, thermal cycling changes the temperature between cold and extreme heat.
Furthermore, the panels are exposed to excessive humidity and heat in damp conditions. Additionally, panels also undergo load testing to determine glass strength for strong winds and snow. Panels that pass these tests are built to last.
Step #18: Certification
The final step is certifying solar panel manufacturing. It ensures the panels are safe and reliable. It also shows that manufacturers have maintained strict protocols throughout the solar panel production line. For example, IEC 61215 and IEC 61730 are some common standards. Buyers trust them.
Conclusion
The article provides clear insight and a step-by-step guide to solar panel production. The process combines clever chemistry and laser technology. It explains how laser technology helps manufacture these panels. Lasers add speed and precision, delivering cleaner results. Altogether, it turns raw silicon sand into a free power source.
For further questions about solar panel manufacturing, contact us now. Our expert team is always ready to help you.